finished #5 - scarf top
So you might not know that i'm addicted to Pinterest yet - WHO ISN'T!?!!
and I'm always searching for a few minutes between working full time in my business, and being a mum & wife for the rest of the time
Pinterest is a lovely escape and a great resource for all things possible. If you want to be inspired, humoured or even shocked at times, you need to be a part of it - seriously.
But back to one of the jobs on my "if only I had more time..." board - A SCARF TOP
I found this image and repinned it so that I could look back onto the instructions later. Sadly the link just takes me back to nowhere - so me being stubborn, I thought I may as well just do it myself!!

First thing I did was grab some fabric I had bought from a local BrisStyle gals de-stash http://kittybooboodesign.blogspot.com.au/ and cut 2 pieces approx. 1m x 1m (sorry if you're looking for the technical terms, that just ain't my thang!) and overlock the edges. I did this as it wasn't a scarf I used for this particular shirt. Next time i have time alone I'll be going to my local oppies & getting a few lovelies that are already edged.
next I put the pieces up to me, and pinned a spot on either side above my shoulders (just on the outside of the collar bone,) so that I could sew those spots later - note as per the picture that I only sewed a small space to join the front & back together.
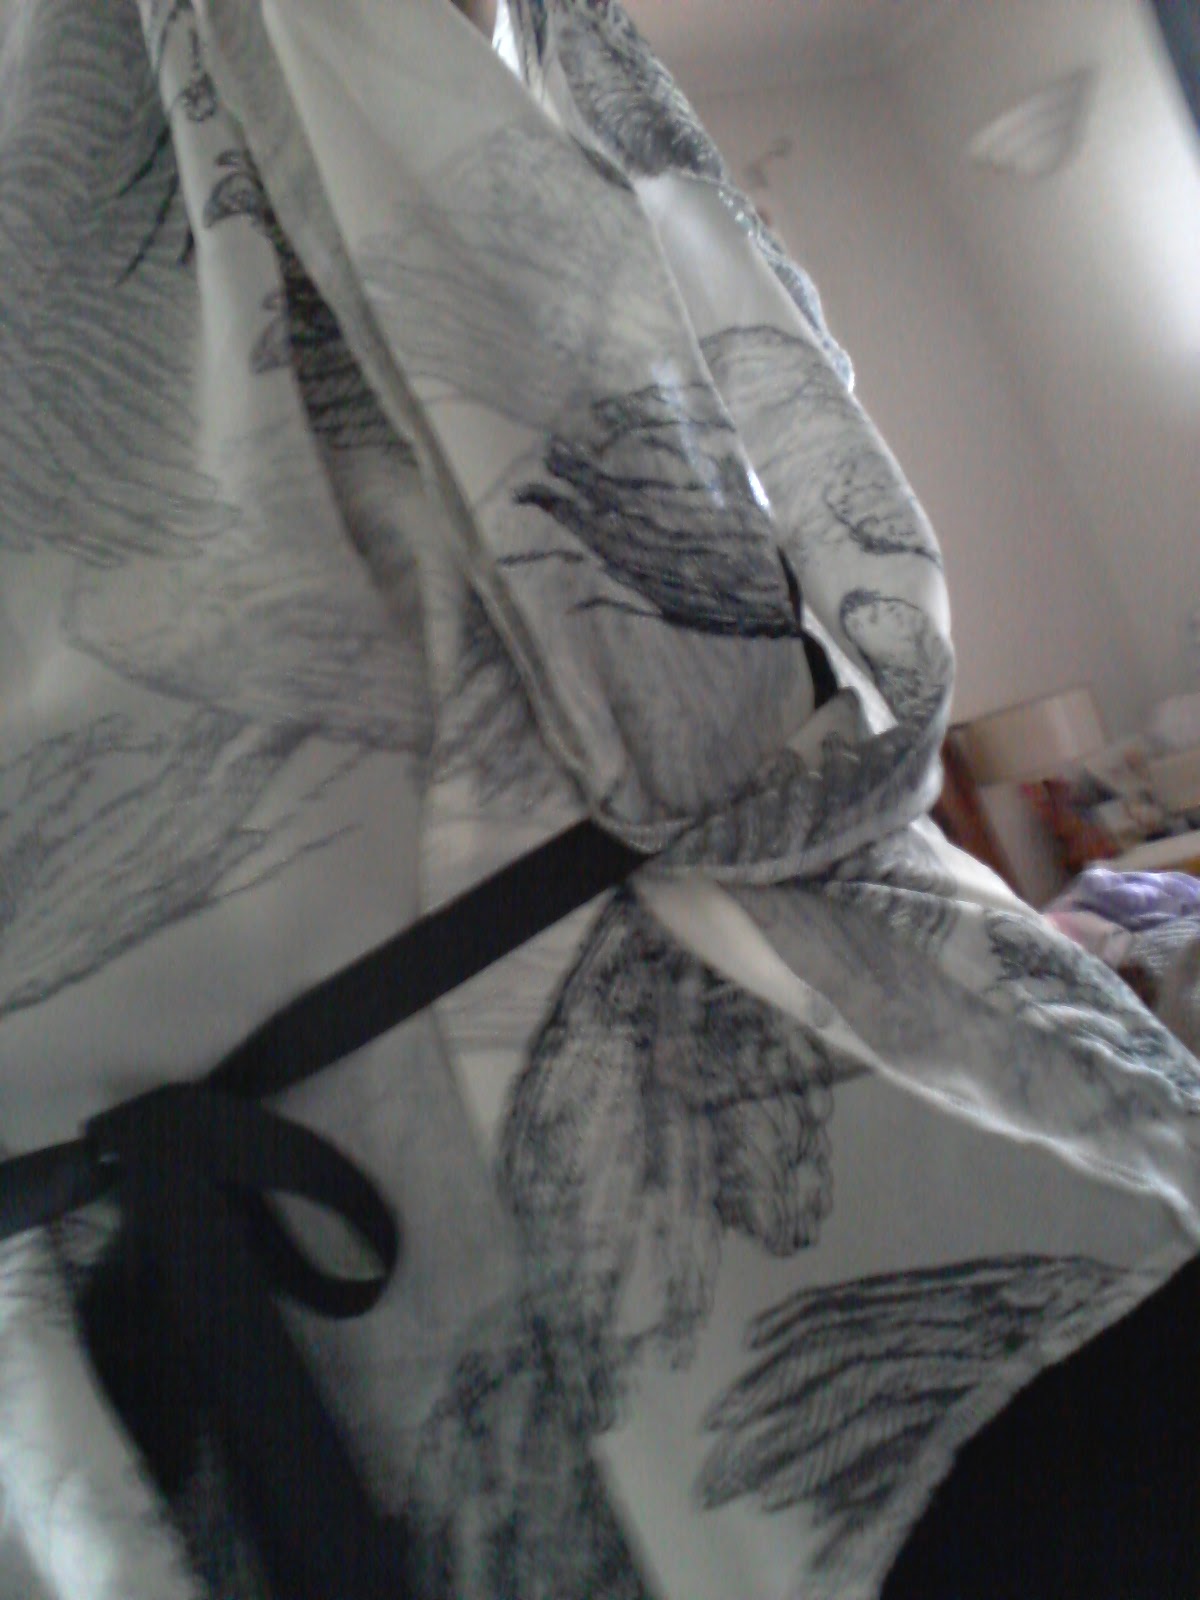
After that, I then grabbed some black ribbon and (after turning the shirt inside out,) I attached the ribbon to the waist area of the top (this will differ for you - at this point it's probably best to put the top on and measure the waist area for yourself.)
The ribbon length, by the way, was approx. 55cm
Don't forget to turn the top inside out when sewing the ribbon piece in.
Once that's done, turn it the right way around and pop on. You'll see the top sits nicely on your shoulders, and then the ribbon when tied together at the back also brings it all in - so simple & lovely!


If I was a professional I'd talk at this point about the importance of using the right type of material for the job and that the overlocking on my fabric one does tend to stand out. If I can be bothered I'll be sure to maybe turn it around so it's not as obvious - but that'll have to wait - cause I've been distracted by something else I've found on pinterest!!!
don't forget to iron your finished product when you go out (like I clearly didn't!) - and also be sure to tell everyone, "thank you for the compliments, I MADE IT MYSELF!!"


