Showing posts with label diy. Show all posts

Monday, March 24, 2014

OPINION: Plans vs action

Are you a list maker like me!?!!

Do you look forward to nothing more than sitting with a cuppa, a clean piece of paper, and a lovely pen to write out your days plans!?!!   (careful Vicki, your OCD is starting to show!!)


Do you find yourself working on your planning alot more than the actual WORK you've planned!?!!

I don't know about you, but without a goal set.................I'm a bit of a meanderer.
I might sit on Pinterest or Instagram for a half hour or so - then maybe pick up a paintbrush or sketch pad and while away another bit of time....

MEANWHILE the dishes aren't being done - the clothes are still very dirty and YOU KNOW time is running out because your son has training tomorrow and those clothes AIN'T GONNA WASH THEMSELVES!!

BUT EVEN WITH A PLAN it still doensn't always go....................to plan!!!


Is that we never actually grow up, and therefore get sick of doing the same thing every day?   I know as a creative person this affects me greatly.

SO WHAT DO WE DO!?!!

I don't have a super cure, but I do have a super incentive plan!!

You migth not get everything done, but you'll still be spending half the time doing what you love, and half the time getting productive and ticking off a heap of things on your list!!

FIRST...........THE PLAN


You must write out a list of jobs/tasks you need to do for the day - write out as much as you can think of, but remember that your hours in this day are finite, and other forces may be at play, which means you probably won't get through it all today.  But get it out of your head and write it out anyway.

Second, write out all those little creative projects you'd like to get done too.  If it's one big project, try to break it down to about the same length as that list of tasks.  if you don't have as many tasks, maybe write down "research pinterest for inspiration" as a task!!!  don't judge me!!!

NOW......simply work on alternate lists throughout the day.  Do one chore, then reward yourself with some art fun.......it's a great incentive for you to get through the trudgery, and it's a wonderful way to be productive AND have fun at the same time!!

TIPS - I'm a bit of a time keeper - it's the army brat in me screaming out for order!!!  If you have a big task that is broken down into smaller ones, maybe even set a timer for that task.  Have a canvas you want to spend a bit of time on!?!!  put on the timer for 15 minutes.  You'll get a bit done now, and then you'll take a break from it during your next task, and you can come back with fresh eyes and see what you missed!!!


NB - if you don't get everything done............don't beat yourself up.  LIFE IS ABOUT SPENDING EVERYDAY DOING SOMETHING YOU LOVE, NOT BEING SAD ABOUT ALL THE WORK YOU HAVE TO DO.  Enjoy it while you still can, you can always do more of the same tomorrow.

I think the main reason I wrote this is because we are constantly in touch with time wasters.  Our phones, tablets, tv's etc - they suck away our time and make it hard to get motivated.  so much inspiration and yet so little time to do it, because we are constantly searching for inspiration!!

One of my creative friends also has a great blog post about this - she gets SO MUCH DONE so be sure to take her advice on board too, especially if you're planning on using this on a daily basis, and not just on your days off like me!!!


I say enough is enough - once you've planned out what you're going to do - BLOODY DO IT!!  No more getting stuck on the screen, you've got goals and rewards all at the same time!!!

If you want to find me, I'll be the one sitting at the kitchen bench - cuppa in hand, notebook & pen by my side, planning out my week - between sessions on pinterest & instagram!!!

Monday, June 10, 2013

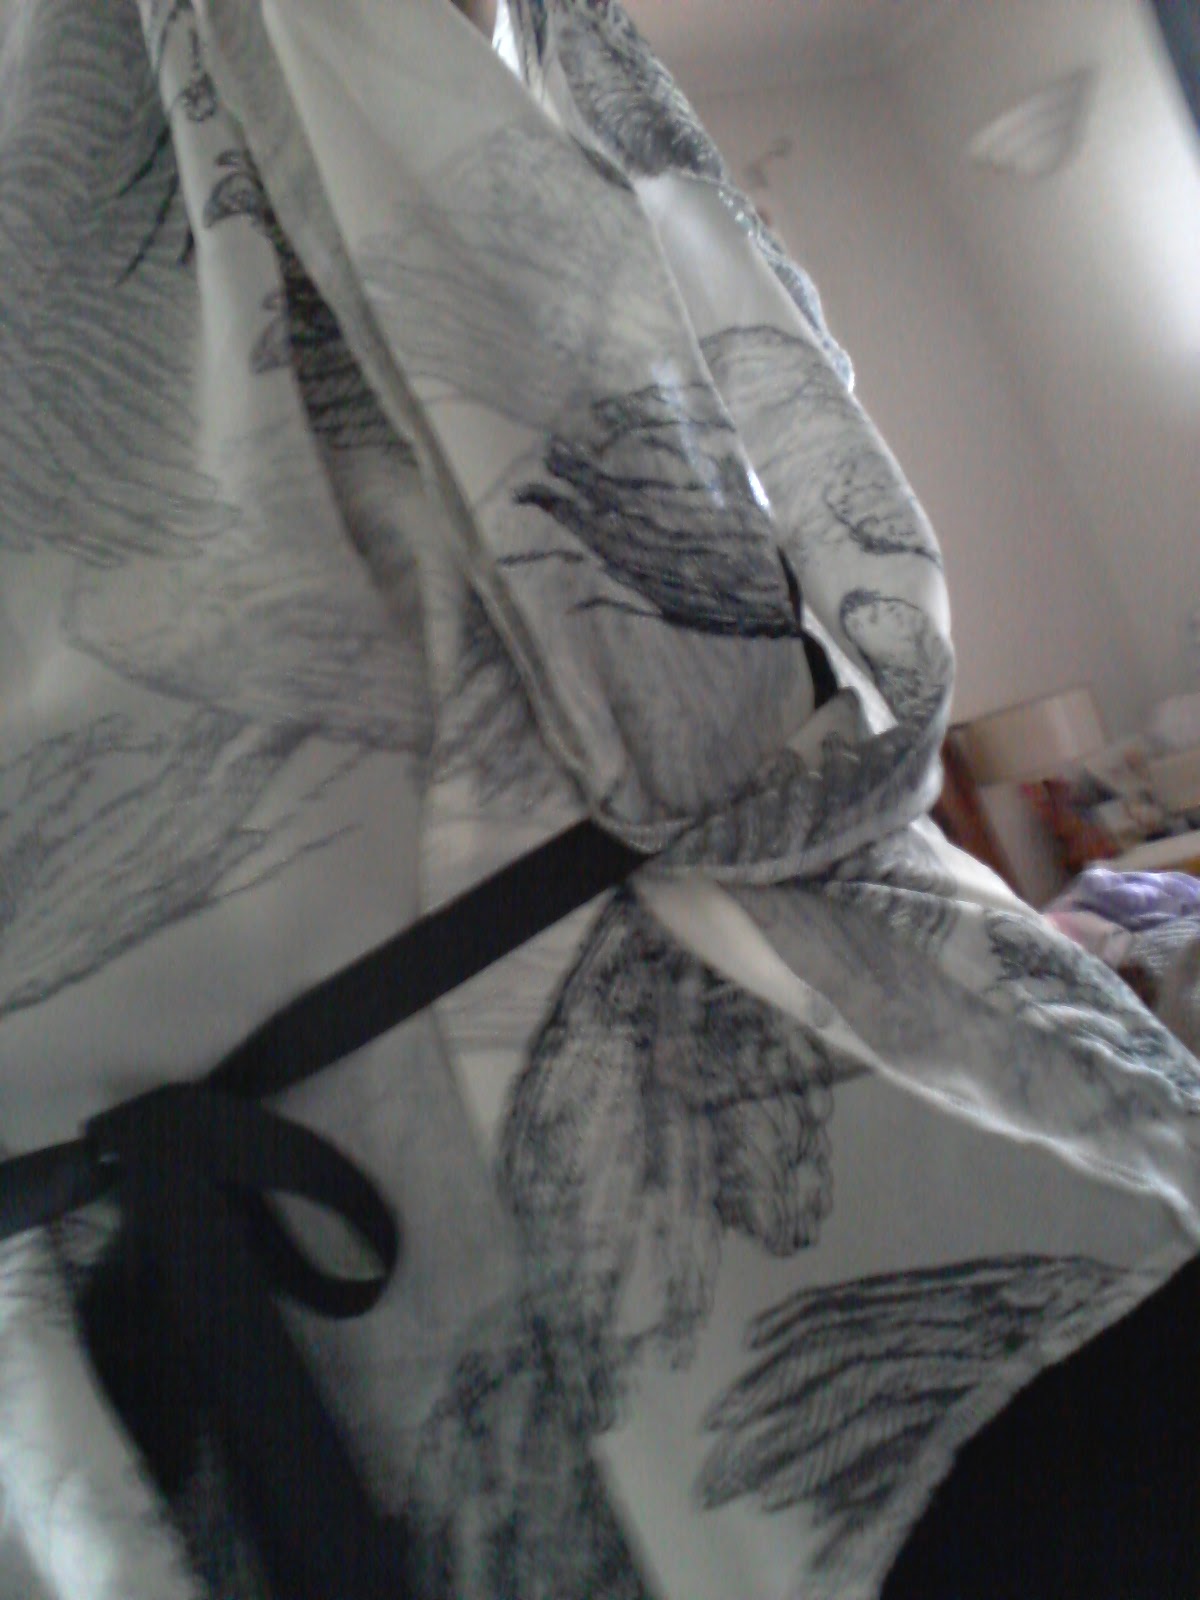
finished #5 - scarf top

finished #5 - scarf top


So you might not know that i'm addicted to Pinterest yet - WHO ISN'T!?!!

and I'm always searching for a few minutes between working full time in my business, and being a mum & wife for the rest of the time

Pinterest is a lovely escape and a great resource for all things possible.  If you want to be inspired, humoured or even shocked at times, you need to be a part of it - seriously.

But back to one of the jobs on my "if only I had more time..." board - A SCARF TOP

I found this image and repinned it so that I could look back onto the instructions later.  Sadly the link just takes me back to nowhere - so me being stubborn, I thought I may as well just do it myself!!


First thing I did was grab some fabric I had bought from a local BrisStyle gals de-stash http://kittybooboodesign.blogspot.com.au/ and cut 2 pieces approx. 1m x 1m (sorry if you're looking for the technical terms, that just ain't my thang!) and overlock the edges.  I did this as it wasn't a scarf I used for this particular shirt.  Next time i have time alone I'll be going to my local oppies & getting a few lovelies that are already edged.

next I put the pieces up to me, and pinned a spot on either side above my shoulders (just on the outside of the collar bone,) so that I could sew those spots later - note as per the picture that I only sewed a small space to join the front & back together.


After that, I then grabbed some black ribbon and (after turning the shirt inside out,) I attached the ribbon to the waist area of the top (this will differ for you - at this point it's probably best to put the top on and measure the waist area for yourself.)

The ribbon length, by the way, was approx. 55cm

Don't forget to turn the top inside out when sewing the ribbon piece in.

Once that's done, turn it the right way around and pop on.  You'll see the top sits nicely on your shoulders, and then the ribbon when tied together at the back also brings it all in - so simple & lovely!


If I was a professional I'd talk at this point about the importance of using the right type of material for the job and that the overlocking on my fabric one does tend to stand out.  If I can be bothered I'll be sure to maybe turn it around so it's not as obvious - but that'll have to wait - cause I've been distracted by something else I've found on pinterest!!!

don't forget to iron your finished product when you go out (like I clearly didn't!) - and also be sure to tell everyone, "thank you for the compliments, I MADE IT MYSELF!!"

Thursday, December 6, 2012

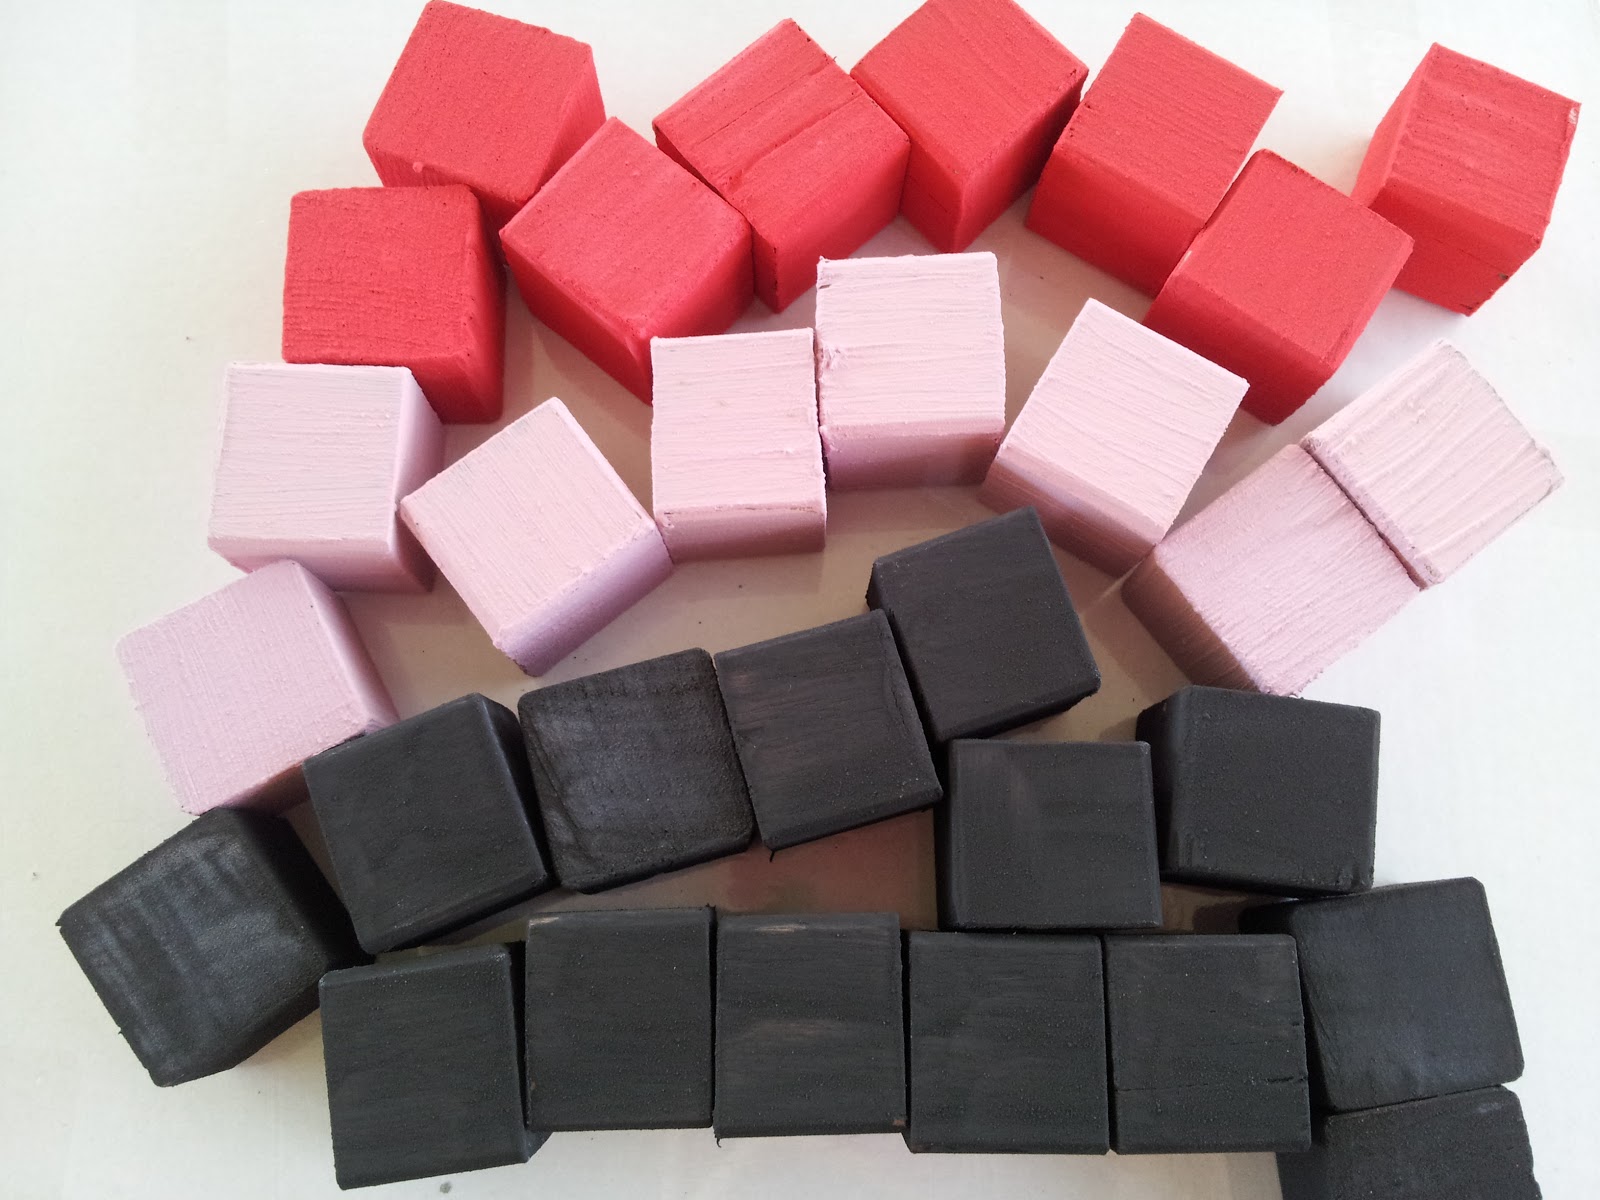
finished #2 - chalkboard blocks


they said it couldn't be done


Who are THEY anyway!?!!  THEY sure have alot to answer for!!

the other day I found an old piece of wood in the garage - made sure hubby wasn't planning on using it for anything special (after ignoring his eye rolling and his statement, "you're making WHAT now!?!!")  and I had a post on pinterest (http://pinterest.com/pin/234468724319494394/) that I'd always wanted to try - PLUS i had all the required materials, and a few spare hours (just kidding, i fed the kids toasted sandwiches that night!)

it's like all the planets aligned!!

Chalkboard blocks

Materials
length of timber (i prefer to buy my wood from recycle centres & tip shops, just sayin)
acrylic paint in the colour of your choice
superfine white grout (THIS you have to find at a hardware store, unless you have a tiler friend and know that it's the super fine stuff) the other tutorial mentioned non-sanded grout, so check the packet for that too.

What to do
Cut your wood into block size pieces - I am lucky enough to have a husband with a drop saw, so i just get out there and cut cut cut...........others could probably go to a hardware store and get them to do it (for a fee I'd suspect,) or find a decent neighbour with a power tool collection, because doing each one with a handsaw is a MUGS GAME.


once you're all cut up - you simply need to sand the blocks so they're all lovely & smooth.....too easy!

now you're ready to paint - the quantities are a bit like making icing - you want it to be a gloopy consistency but not too hard and not too runny - if it's a bit grainy it might need a little more paint or a dribble of water.  I tend to use 2 level tbsp of grout to 1/4 cup of paint - have a play with it!


paint 3 sides of your blocks with the paint and set them out to dry - give it at least an hour and then paint the other 3 sides.  If you want to make it a proper professional job (ie if you're selling them,) then do them again, but it's up to the consistency of the paint & your decision to see if it's ok with just one coat)


Once they're dry you're ready to rock & roll - you can use your chalk on them straight away and put on heaps of messages - I have some that I use for christmas time, and then other times of the year they sit on the cupboard in the boys rooms - when it's time for their birthdays they'll come out again so we can share the love with any visitors.


i put some in the shop on Friday, and sold all but the display pieces on the Saturday - so i'd be get back to making more!!


Saturday, November 17, 2012

finished #1 - pacman cookies

 
na na na na na na na na PACMAN!!!


The happy birthday boy (and his little brother,) gets his cookies ready to take to school
My oldest son turned 9 today - as it was a Saturday, it's been on the cards for a while that he'd have to take something sweet for his school mates.  He was very happy with the end result, but maybe not as excited as I was!!
 
I recently went along to a cookie decorating course run by Linda Van Der Meer of Bubble and Sweet http://bubbleandsweet.blogspot.com.au/
If you can get to one of her classes I highy recommmend it.  If not, get your hands on one of her books (you can find it via her blog, I'm only new at linking on blogs, sorry!)
 
I had so much fun learning about decorating basics, that the next week I bought 6 cookie cutters and got straight to work!!
 
When i say these cookies have been on the cards for a while, it's because when I was a little girl, this was the type of thing i'd fantasise about.
 
Not the wedding dress or prince charming - but the cakes I could decorate when I had kids.  Mum had 3 old skool books, all different covers (red, blue & green,) and all had great ideas for decorating cakes inside them.  I still remember the jelly based cakes, as well as the trains, etc.  The more recent decorating books still pay homage to the basic cake decorating shapes, but these cookies are a whole new genre for me!
 
I enjoyed playing with colour, form & shape - and it was a few lessons learnt in regards to cutting depths, as well as making sure you're not caught short with the royal icing (cue icing sugar being made to cover 4 naked cookies, just 4 out of 45!)
 
So that's one project finished - pacman cookies for a 9 year old - yay for me!!
 
Have you finished a project recently?  I'd love to see your blog about it!!